


How to: Plant a Bulb Lasagne
Whether planting a creation for a loved one, or simply as a gift for yourself, a layered lasagne planted pot, packed with spring flowering bulbs, will prove a delightful garden addition that’s perfect for welcoming the warmer months of the year, providing weeks of continual colour.

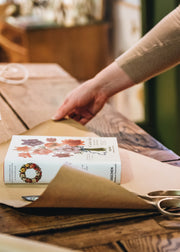
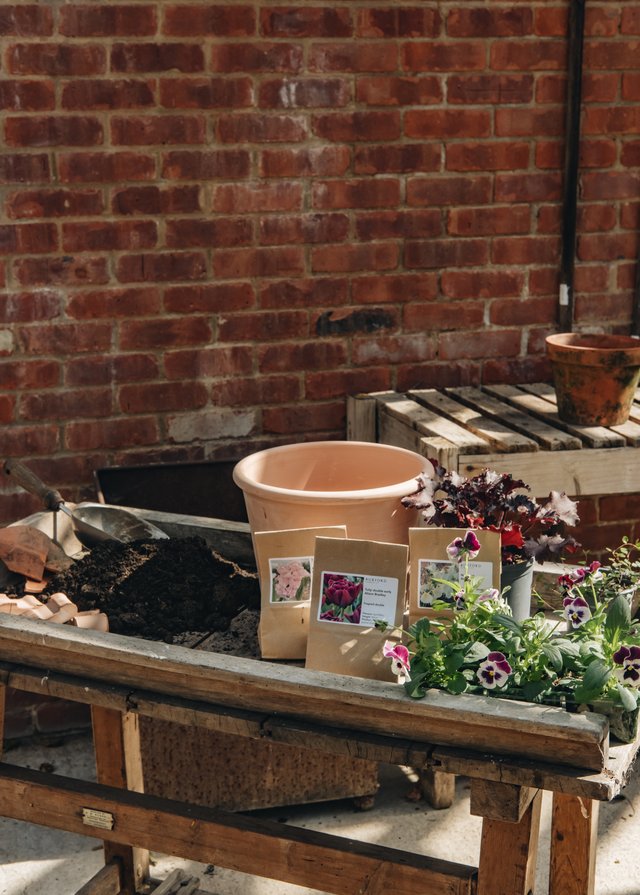
You will need:
- A decent sized pot, we would recommend at least a 28cm diameter pot with decent depth so that you are able arrange a few layers with decent compost coverage in between. The diameter of your pot will typically dictate how many bulbs you should use in total for your display. I.e a 28cm diameter pot should accommodate 28 bulbs.
- Crocks for drainage
- Peat-free compost
- Your choice of bulbs (choose different flowering heights and flowering times for maximum interest)
- Top dressing plants such as pansies, grasses, ivy etc for colour through the winter.
- Trowel
- Gardening gloves
- Watering can
First layer of bulbs
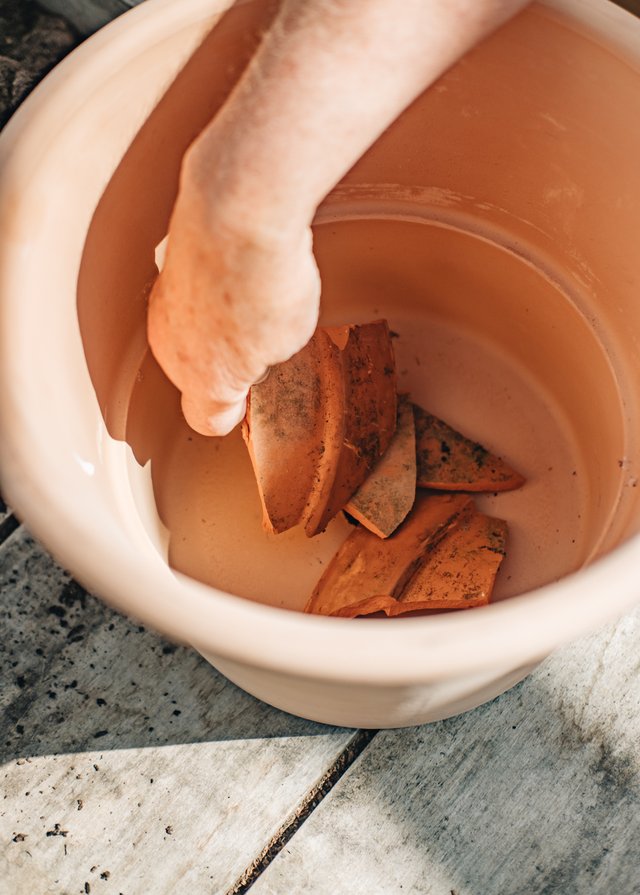
Once you have taken care to arrange your potting bench, start by choosing your nominated pot, making sure there are holes to assist drainage, and begin filling the base with a few ‘crocks’. We have chosen to use a 28cm Bordato Cylinder Pot in White Terracotta with a scattering of terracotta pieces for drainage; the latter being a great way to find new use for your old cracked and broken pots.
Now, top your drainage material with a good couple of inches of compost, and you’ll be ready to place the bulbs for your first layer in this planter.

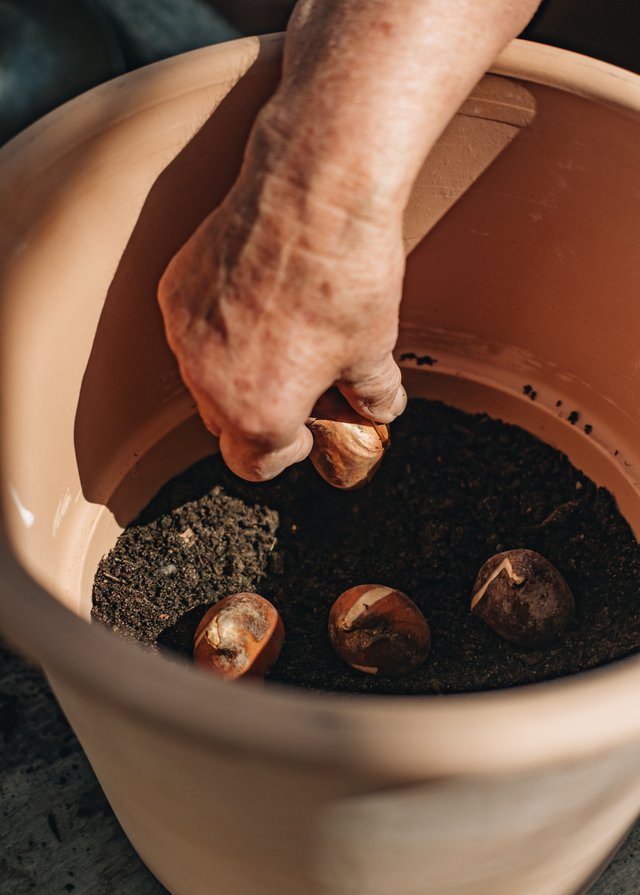
Layer three
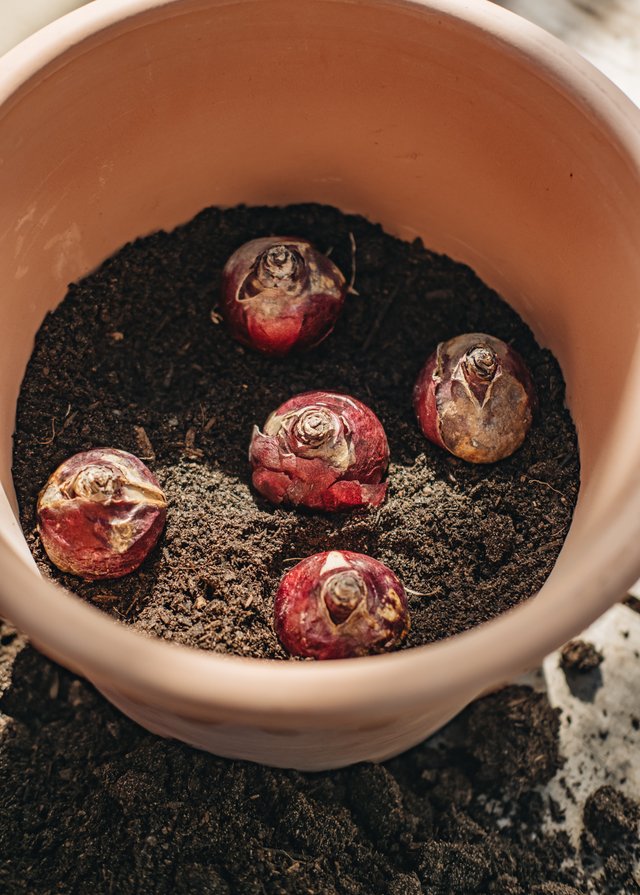
Plant what will be your tallest and latest blooms at the bottom of your container, in our case, this will be Tulipa Alison Bradley Bulbs. When gently nestling and arranging these bulbs, make sure they are the right way up (pointy end facing upwards), with even spacing, and that none are touching, as this can cause the bulbs to rot.
Next, cover this layer with a generous two inches of compost, ready for your second selection of bulbs.
The final touch
For this layer we have chosen a midseason flowering, fragrant hyacinth, namely Hyacinth Pink Elephant bulbs. Place these hyacinth bulbs with good spacing, not worrying too much if the layers of bulbs overlap in their placement, as the shoots from your first layer will effectively grow around this layer of bulbs.
Again, repeat the covering process, adding another two inches of compost, readying yourself for your final layer of bulbs.
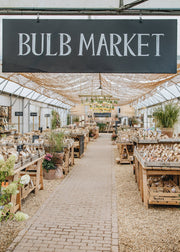
Bulb inspiration
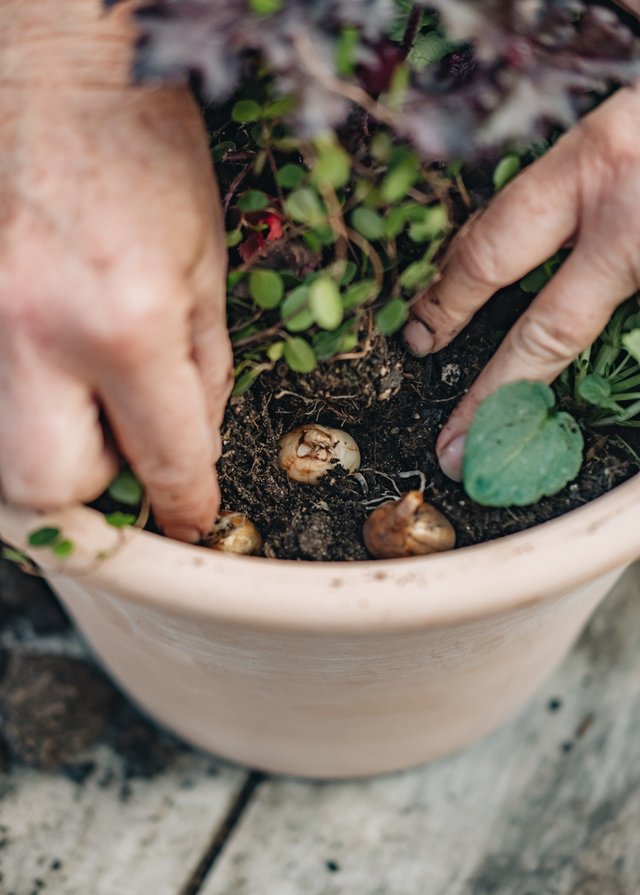
For this last layer, be sure to select your smallest and earliest flowering bulbs, we've used Narcissus Arctic Bells bulbs. When placing these, try establishing small clusters so that these will look more natural when they begin to emerge early in the season.
A winter treat to top it all off
Lastly, it comes time to conclude your creation with a choice of topping.
If you are storing your planted pot until the new year, it’s advisable to top it with a covering of fine grit, before tucking it into its safe space, where protection from rainfall is available so the bulbs do not rot.
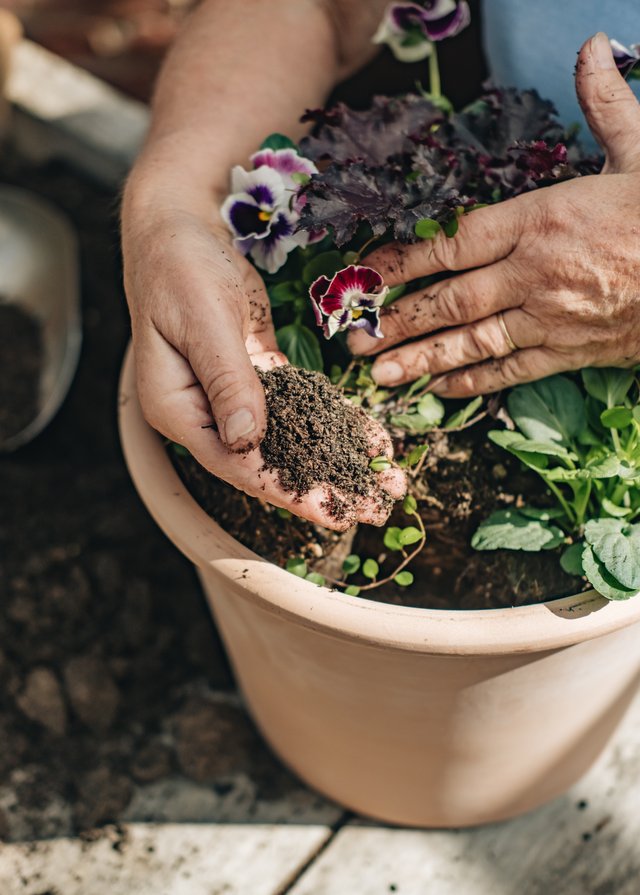
However, if you are putting your pot out on display, you might want to try topping it with a selection of hardy winter florals. This will give you a full floral display, right up until the green shoots of your bulbs start to emerge. Smaller winter bedding is ideal for this, with ivy, euonymus, grasses, pansies, hellebores and more being perfect to brighten the top of your pot.
With all your spring flowering bulb layers and top bedding now in, don’t forget to grab your watering can, and begin the process of gently ‘watering them in’.


The final touch
Whichever way you are planning on storing or displaying your pot, make sure to invest in some pot feet. These will keep your pot elevated and allow drainage whilst also keeping your bulbs protected from the cold.
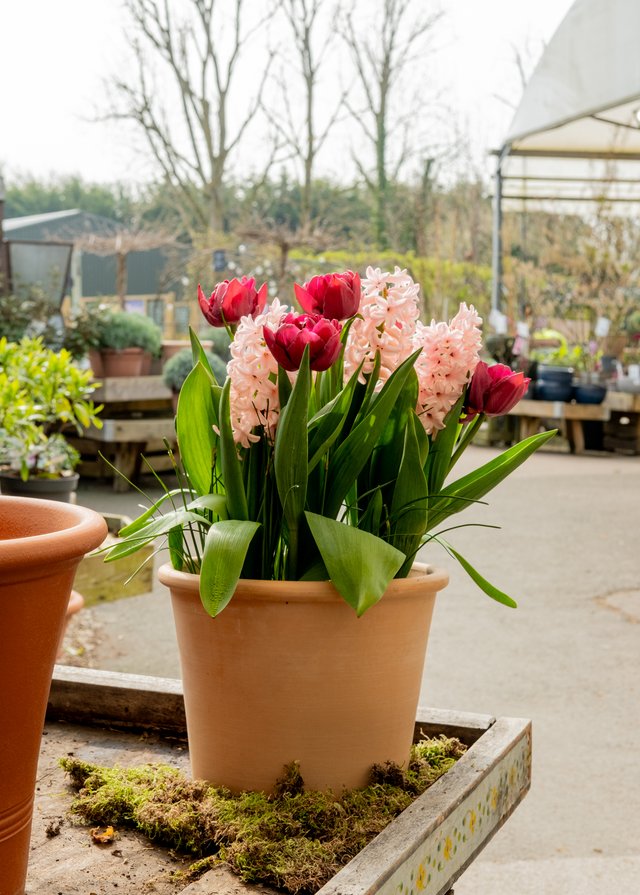
The spring result!
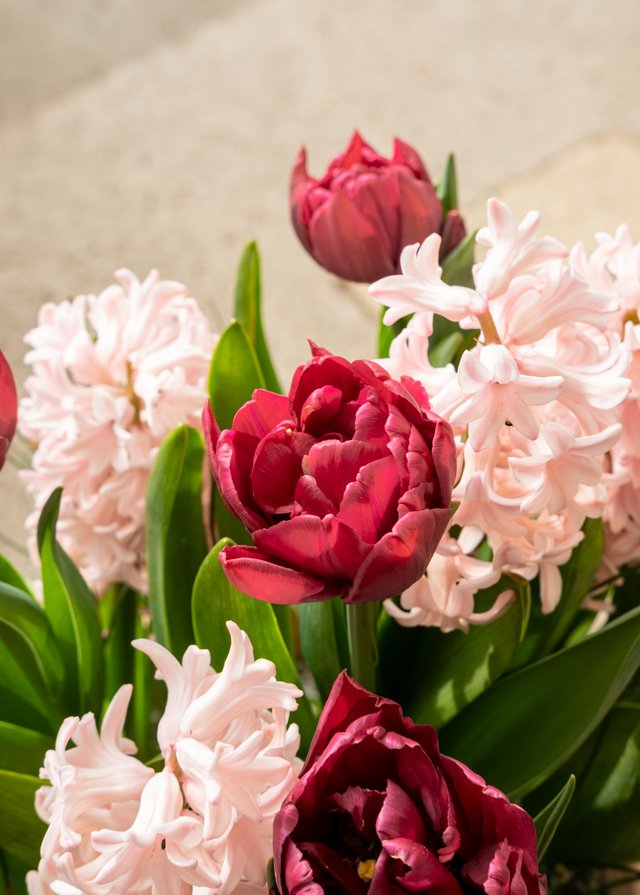
Bulb lasagne combination inspiration
Learn more with our stories and guides


Glossary