


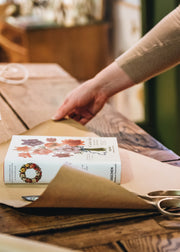
How To: Create a Kokedama Hellebore for Christmas
A natural, yet eye-catching and enchanting way of bringing the garden inside for the festive season.
Hellebores have long been loved for their delicate beauty and for providing a burst of colour in the winter garden. However, we’ve discovered that bringing them inside is also a delightful way to enjoy and admire their beauty, especially during this festive season.
An easy craft, Kokedama Hellebores can be made simply in under ten minutes and are best made closer to Christmas to ensure freshness of the blooms. Whether you’ve got space for a dozen, or just the one, it’s a wonderful festive activity to indulge in, and something that’s perfect for younger helpers.
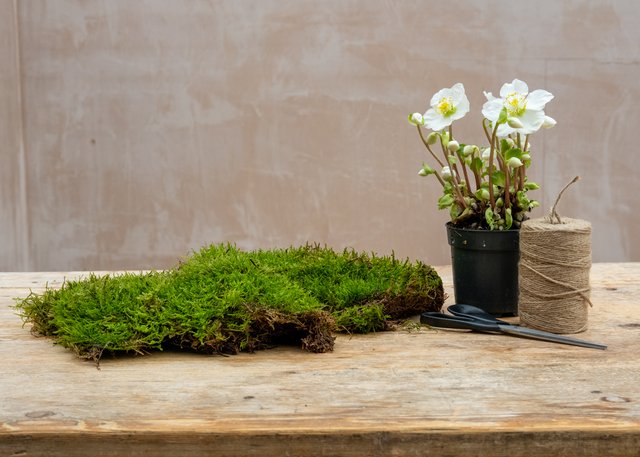
You will need:
- Fresh small Hellebores
- Flat Moss
- Natural Garden Twine (you’ll need a very long piece of twine, approximately 60cm in length)
- Gardening gloves
- A Pair of scissors
- Additional: A saucer or bowl for planting
- Additional: A Velvet Ribbon spool (in any colour of your choice)
Join us in store to purchase any of the above elements, our Houseplants Team are always happy to advise on combinations and care.
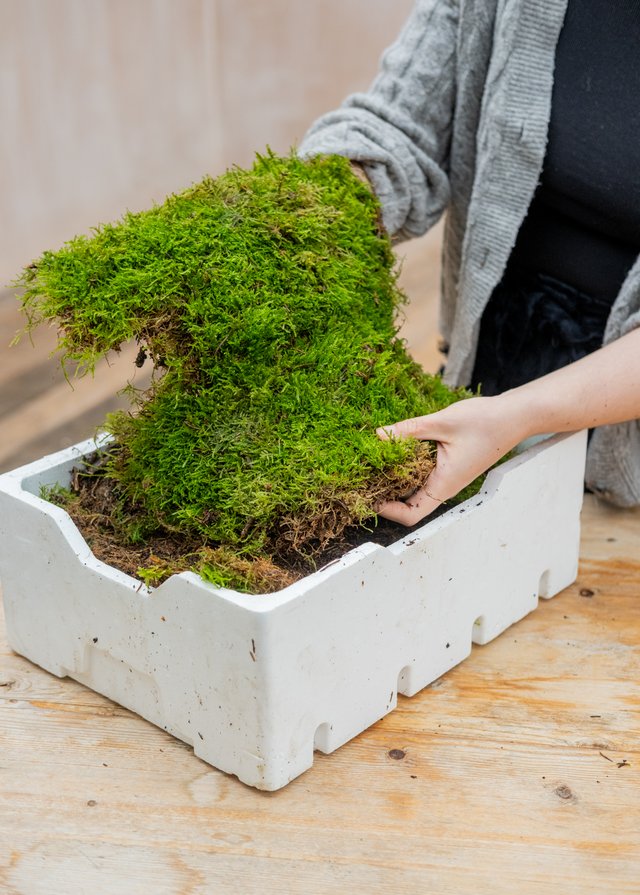
Step 1 - Freshen the Moss
Using a mister, it’s always helpful to slightly mist the moss and make sure it’s easy to fold. If you’re working with larger quantities of moss, gently place the layers into some water, before moving to drain.
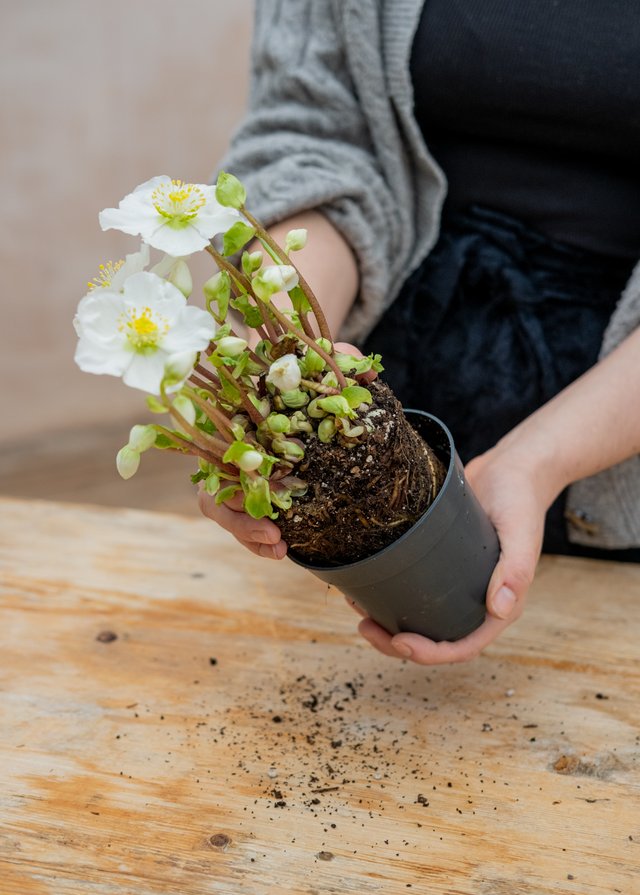
Step 2 - Prepare the pieces
Gently remove the hellebore from its plant pot and place aside. (You may like to wear gloves if you have sensitive skin as hellebores can sometimes cause a mild irritation). Give the hellebore a gentle watering and leave to drain.
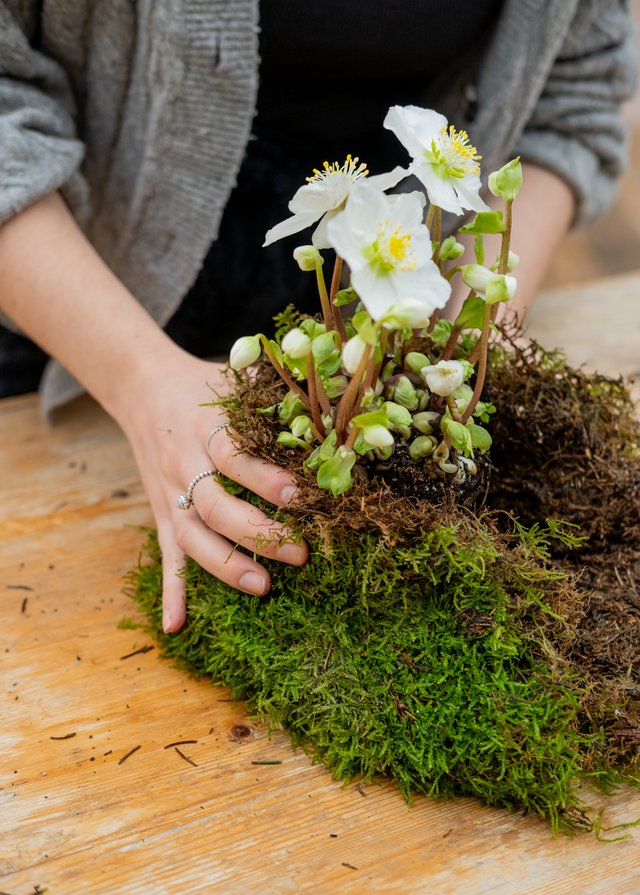
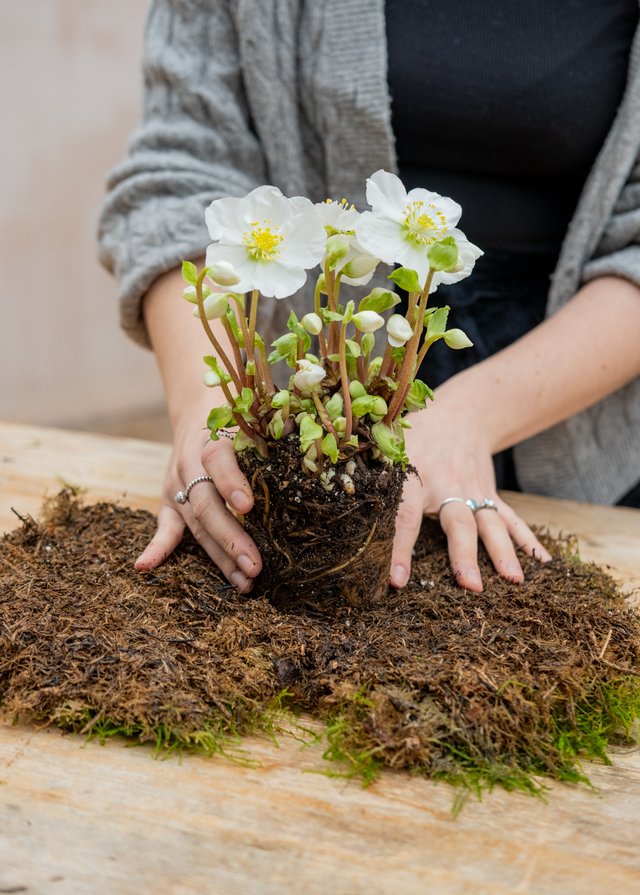
Step 3 - Plant the hellebore
Place the layer of fresh moss upside down on a flat surface, removing any large twigs or branches. Place the hellebore in the middle of the layer. With your hands (and possibly another handy pair), bring the edges of the moss layer up so that the moss surrounds the plant, creating a ball shape. (At this point, it may be necessary to gently rip away some of the edging of the moss to perfectly fit around the plant.)

Step 4 - Grab the twine
Once the moss is in perfect position, tie some natural garden twine around the moss, being careful not to squash any early blooms. (It is best to tie the twine around the plant quite tightly, to keep the moss in place and make sure your creation doesn’t fall apart.) Gently make sure that all the moss is tucked in the twine and adjust any of the moss layer if necessary. Leave, if you can, long strips of the twine trailing.
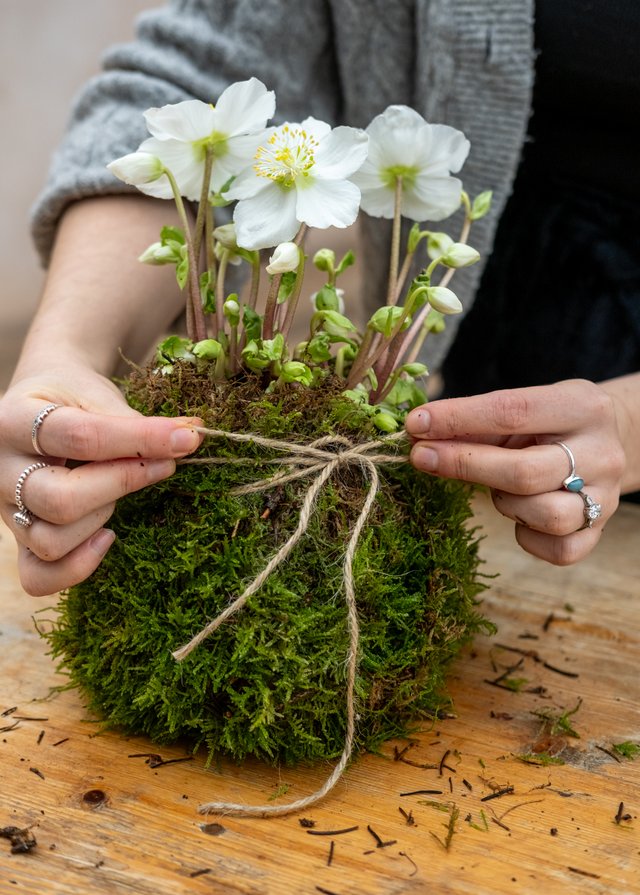
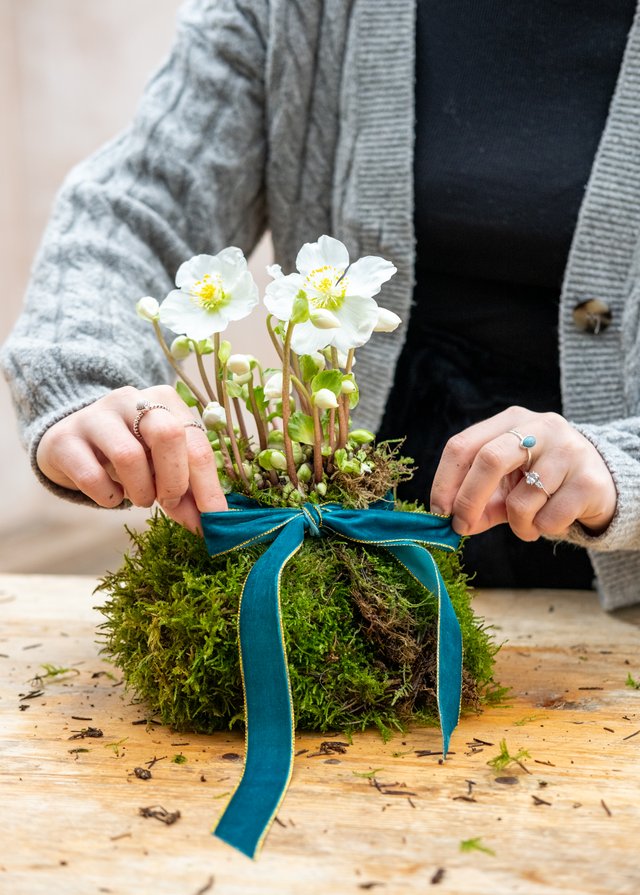
Step 5 - Finishing Touches
Tie the ends of the long strips of twine together into a secure double knot. If you are adding a bow, tie the ribbon around the twine, finishing the edges of the ribbon with a diagonal cut.
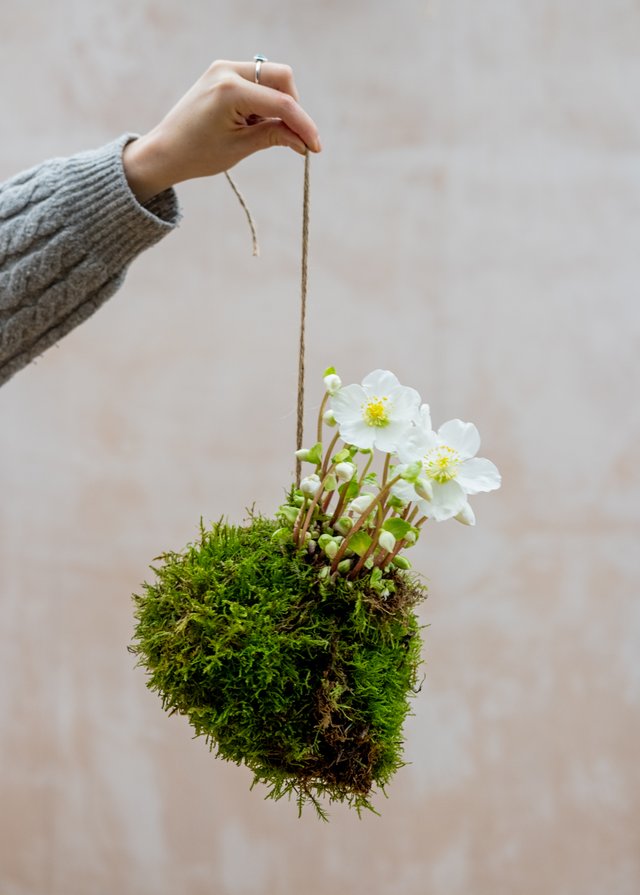
Step 7 - Stand back and enjoy!
Find your place to hang the arrangement and enjoy!
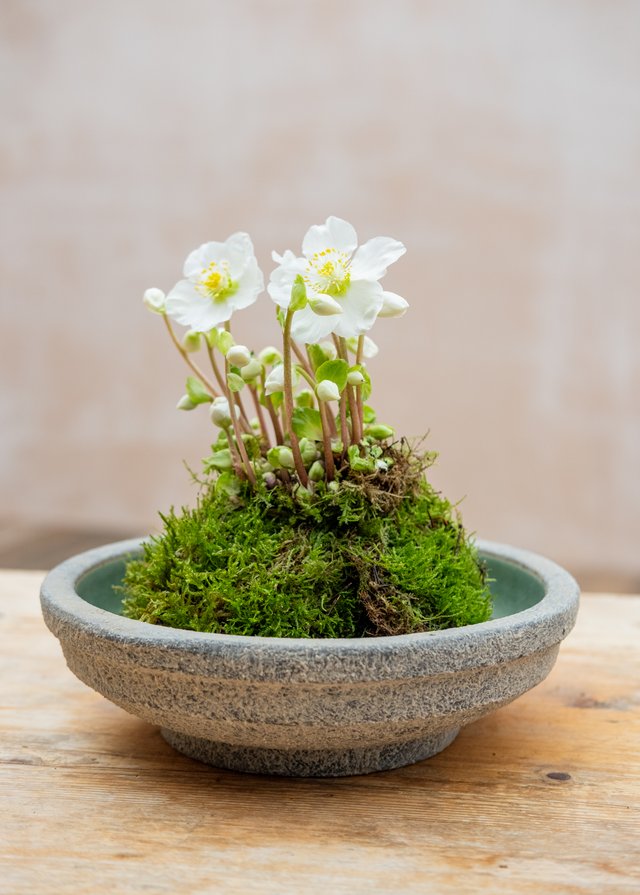
If you are unable to hang your plant, we find they are equally enjoyable placed in a saucer or a small bowl. We’ve used a smaller Elin planter to demonstrate.
Care tips
- Place the arrangement in a naturally lit, cool position, avoiding direct sunlight. Try to keep it away from heat (for example, avoid placing near radiators in the home).
- To water the plant, dip the ball in water and leave to drain, or water directly from the top.
- Admire your creation as it grows. Deadhead blooms as they fade, and if the moss starts to fall apart then gently place back together and tie with fresh twine, if needed. After the festive season has finished, these hellebores can then be unravelled and planted outside, although they will need gently acclimatising to ensure they last outside year after year.
Indoor plants for Christmas displays

Learn more with our stories and guides


Glossary