


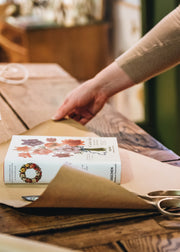

Planting a Rose Obelisk Feature Pot

High achievers
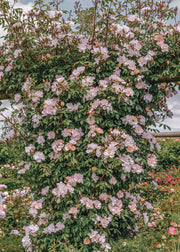
Climbing or rambling roses spilling over front doors and adorning house fronts is always a welcomed and beautiful sight each summer, but vast swathes of flowers can be achieved in smaller spaces too. In our Rose Garden this year, our team have been planting varieties to climb up decorative obelisks, perfect for creating a stunning floral display with height in any size garden.
You will need...
- Shingle or Gravel - enough to fill one tenth of your pot
- Compost - we have used two bags
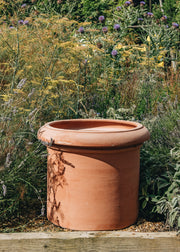
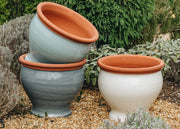
- Large Pot
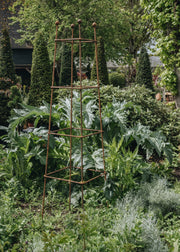
- Obelisk - we have used a Large Etched Round Column Obelisk
- Climbing or Rambling Roses - 1-3 depending on size of pot. Be careful with your variety, as some have much larger habits than others
- Optional shallow rooted companion plants if desired
Smaller climbing and rambling roses perfect for pots...


Step 1
Take your pot and prepare to fill with your first layer. If you are reusing a pot previously planted, ensure the pot is clean and the holes are not blocked. Fill your pot with a deep layer of shingle or gravel (around 10cm depth), as this will make sure there is good drainage.
Step 2
Empty your compost into the pot, making sure to break it up whilst firming down as you go; this will stop any air pockets forming. Keep filling your pot until you reach the point that your rose can sit in it's nursery pot with the nursery soil line at the height from which you want it to grow (remember to leave a good gap from the rim of the pot). Roses should be planted at the same height as their nursery pot, so it is important not to set your rose too deep or shallow.
Step 3
Add a sprinkling of mycorrhizal fungi onto the compost before placing your plant as this will help your rose roots establish. Once ready, carefully remove your rose from its pot and position in the soil, being careful of thorns! We have planted three roses together for a beautiful full summer show. If you would also like to include a shallow rooted companion plant like Salvia, now is the time to add between your roses.

Step 4
Fill in your compost around the base of the roses, making sure you have no air pockets. It is important to keep the rose graft point above the soil line, so make sure to take note when adding more compost. Don't fill your pot to the top as it is important to leave a gap for watering.

Step 5
Carefully position your obelisk ready for your roses to grow up, ensuring they sit inside the structure. Once you have firmed the compost around your roses and sunk your obelisk into position, make sure to give them a good drink, ready to settle into their new home.


Ongoing care
All roses will need to be fed and watered throughout their flowering season, sometimes needing water every other day if you experience very hot and dry spells. When it comes to winter, prune back to the main stem and follow standard pruning guidance. You could consider swirling pruning around your obelisk for winter interest.


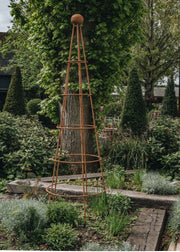
One year on...


Glossary